
Written by Heather Zubiate
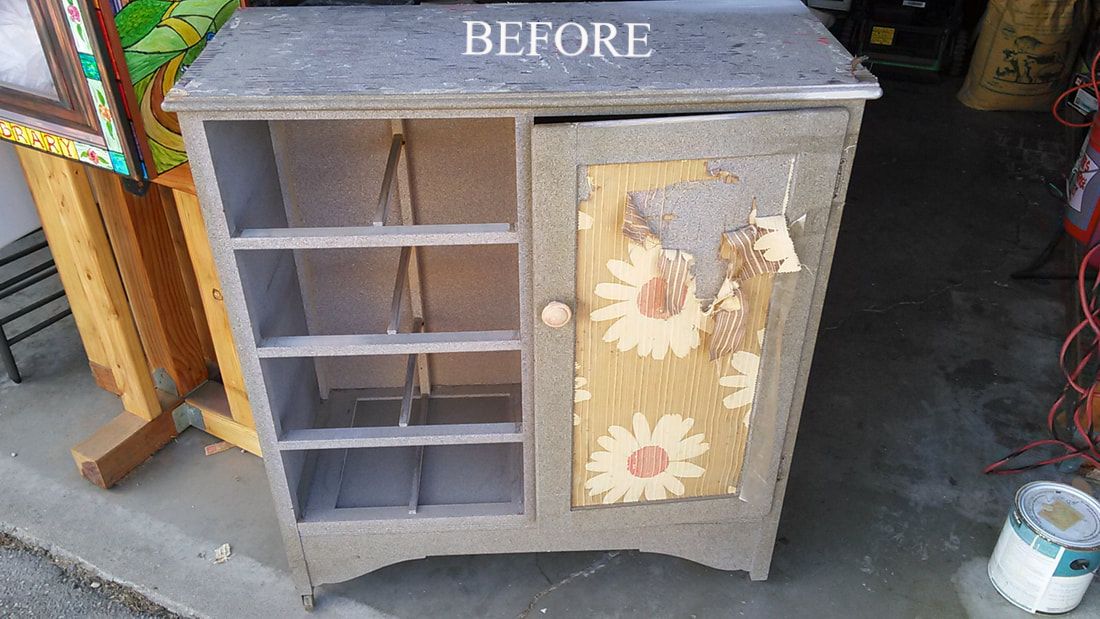
Many months ago, I was outside with my husband gardening when I saw this little cabinet sitting on our neighbor's curb waiting to be picked up by my youngest son's favorite people in the whole wide world, his "buddies," the trash-men. I immediately thought it might fit in a spot in our kitchen, even though it might not be as wide as I had wanted, I had a feeling it would still work. So I stealthily measured the cabinet and yes -- it would fit. My husband just smiled at me. He said, "I just knew you'd want that thing." Oh, he knows me so well. So I asked our neighbor if I could have the little cabinet, and she said, "Yes!" Yahoo! As it turns out, she was kinda sad to toss it out, since it was her dresser when she was a young girl. Great story, so now I really HAD to save it! So I did.
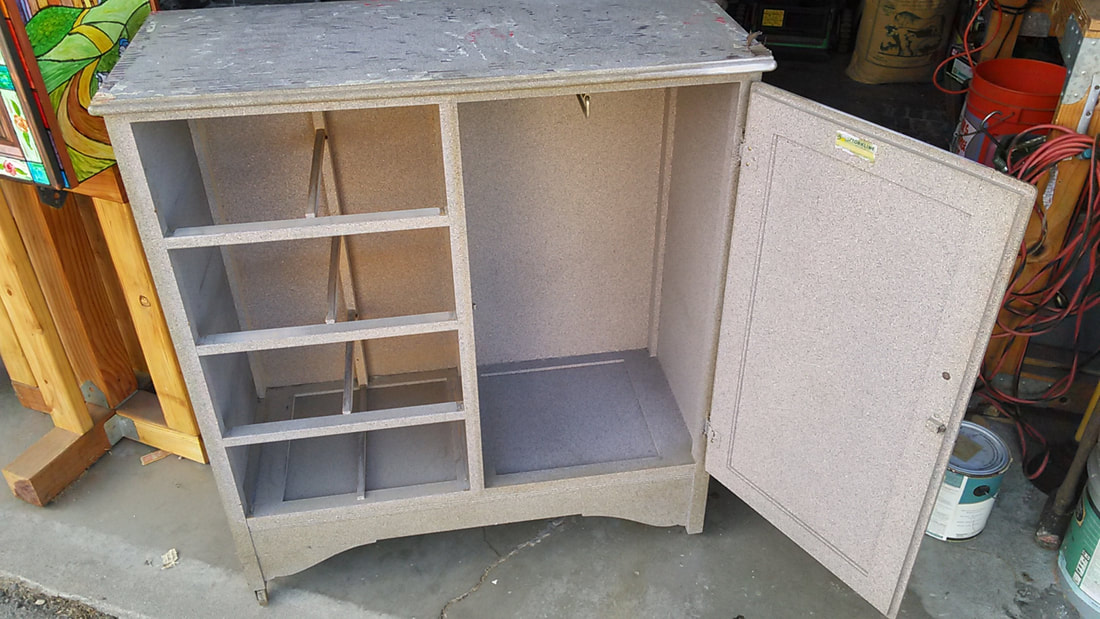 | 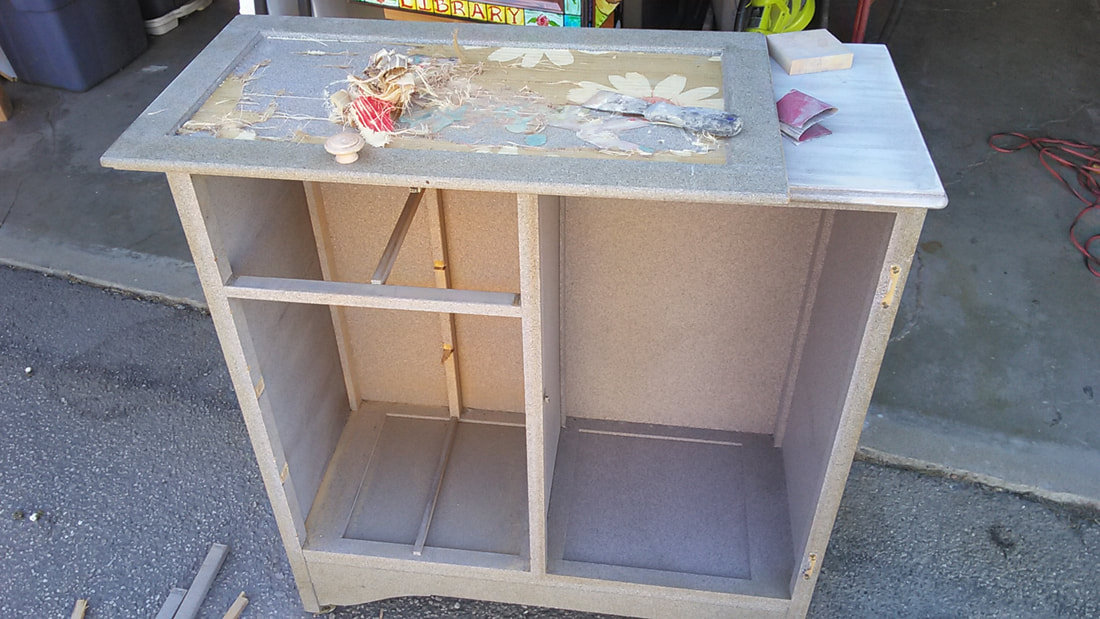 |
I wanted to turn it into a baking cabinet, to store most of my baking pans and utensils in order to free up space in my cooking cabinets, as space is a premium in small kitchens. But I didn't need all of the drawer space the cabinet sported, besides, all of the drawers were missing anyway. But I did need at least one drawer, so I knew I'd need to make one -- eh, I've never made a drawer before. But that didn't stop me, because I was determined. Let's see...I needed tall storage for my baking sheets and cupcake pans, so I knew that I had to break out most of the drawer slots and just leave one for my measuring spoons and cups, and other baking paraphernalia. Meaning, I'd also have to custom make a cabinet door, which I have also never done before. Keep in mind, I don't have any of the fancy tools for that either. So a lot of thought went into making those items. I did like the flower wallpaper on the door, but it was past it's prime so sadly, it had to go, so I thought about what to replace it with. More on that later.
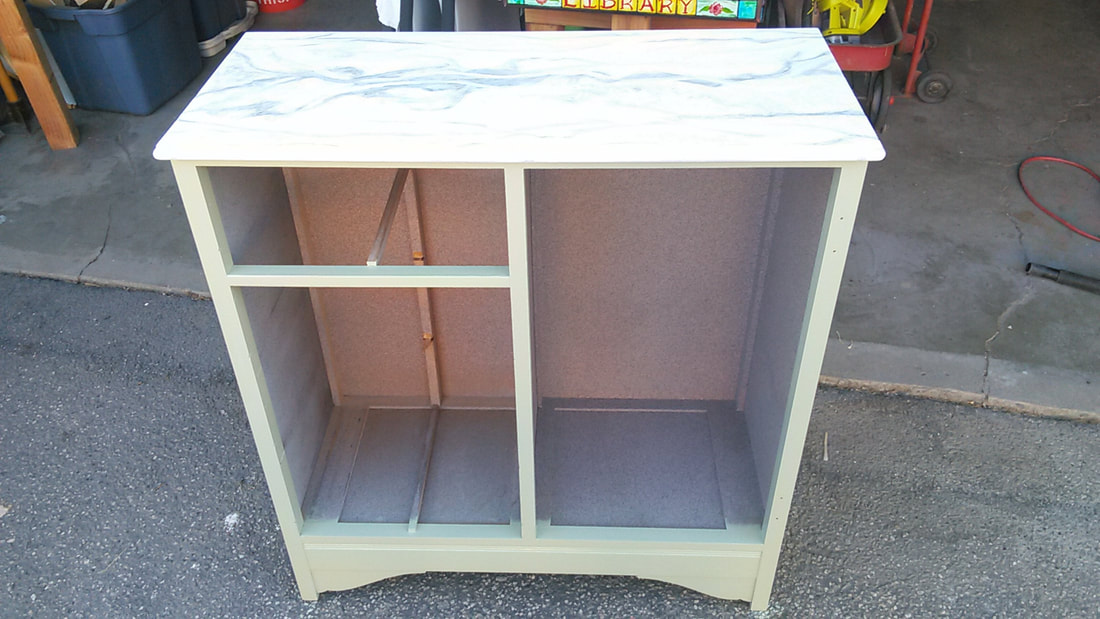 | 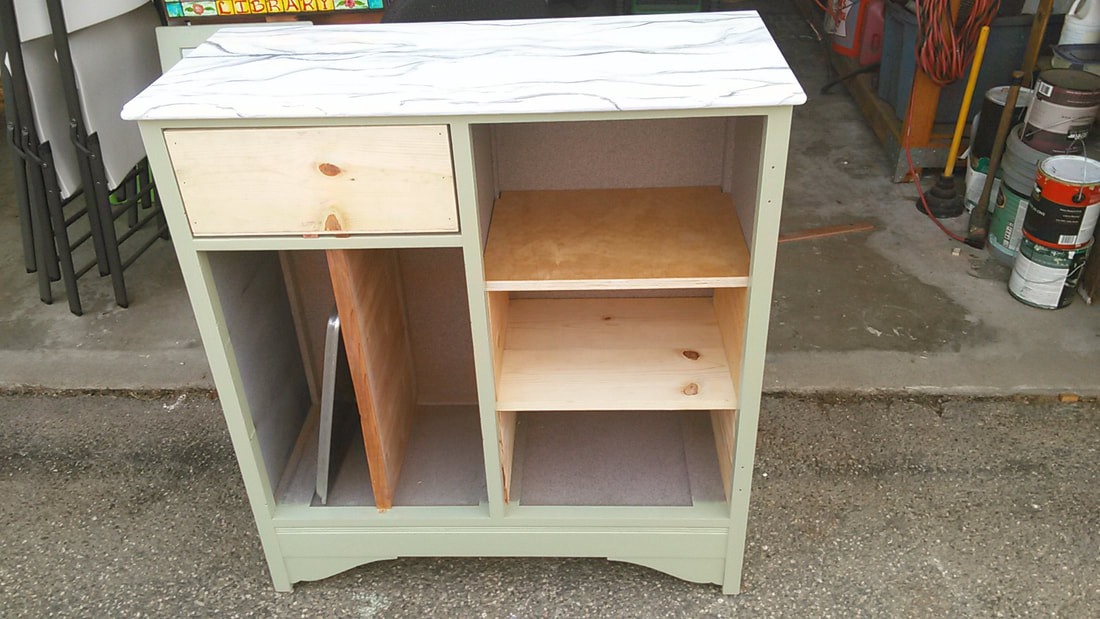 |
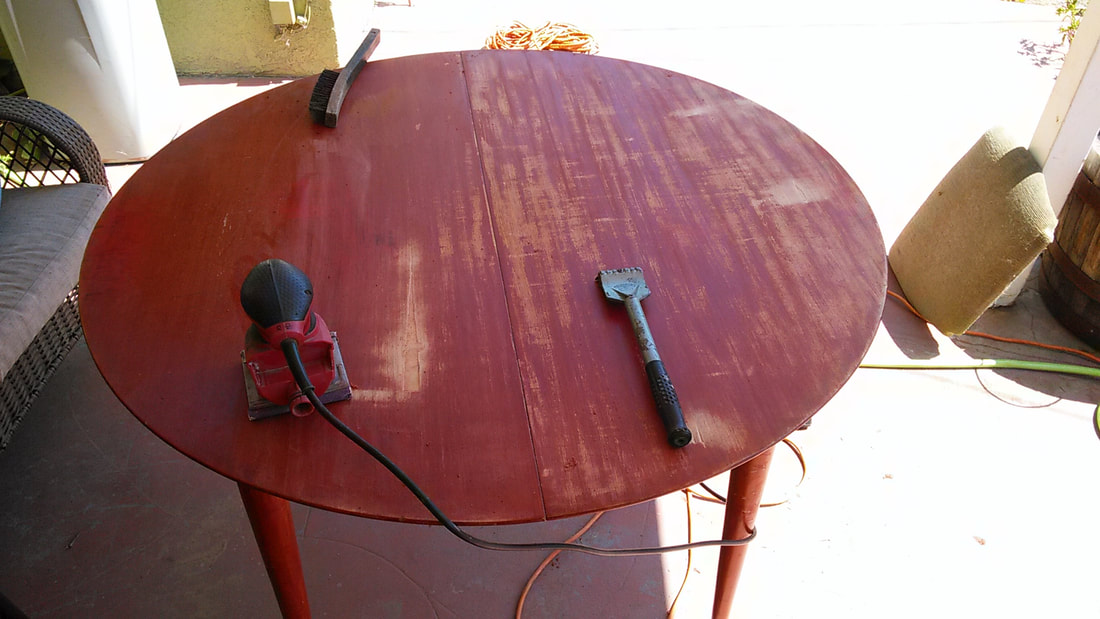
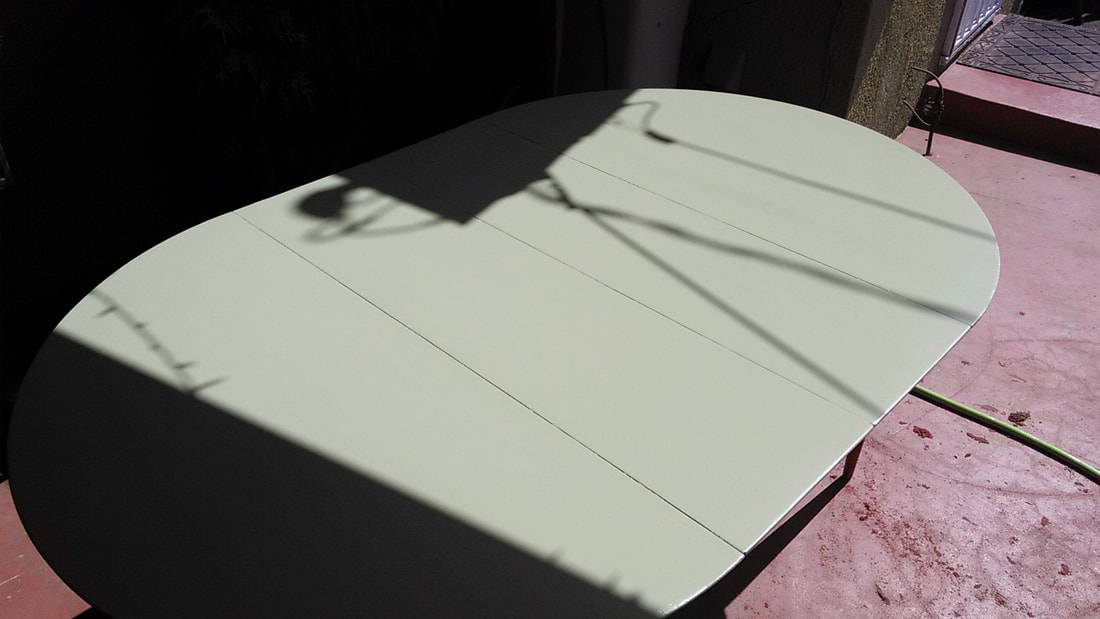
I didn't like the granite paint finish that covered the carcass, though I didn't mind the grey color, but I preferred a light sage green color, because I like green, and sage green is kinda greyish so....the best of both worlds. So I sanded the cabinet and painted it with a custom mixing of left over colors. Next I had to figure out how to make shelves, because the sides of the lil cabinet were wafer thin, making it near impossible to side mount shelves. So I used 3/4" ply wood for the shelves while I used 1/2" plywood for the side supports. I just glued them in, and then set the shelves on top of them, in a way, I lined the cabinet with plywood, and didn't need to use one fastener, Gorilla glue is pretty tough stuff. Then I made a center divider for the smaller door opening, which would also hide the drawer rail support. Some luan ply wood glued to them and a scrap piece of wood to finish the front worked a treat! Now all that needed was some paint-- high gloss white, of course.
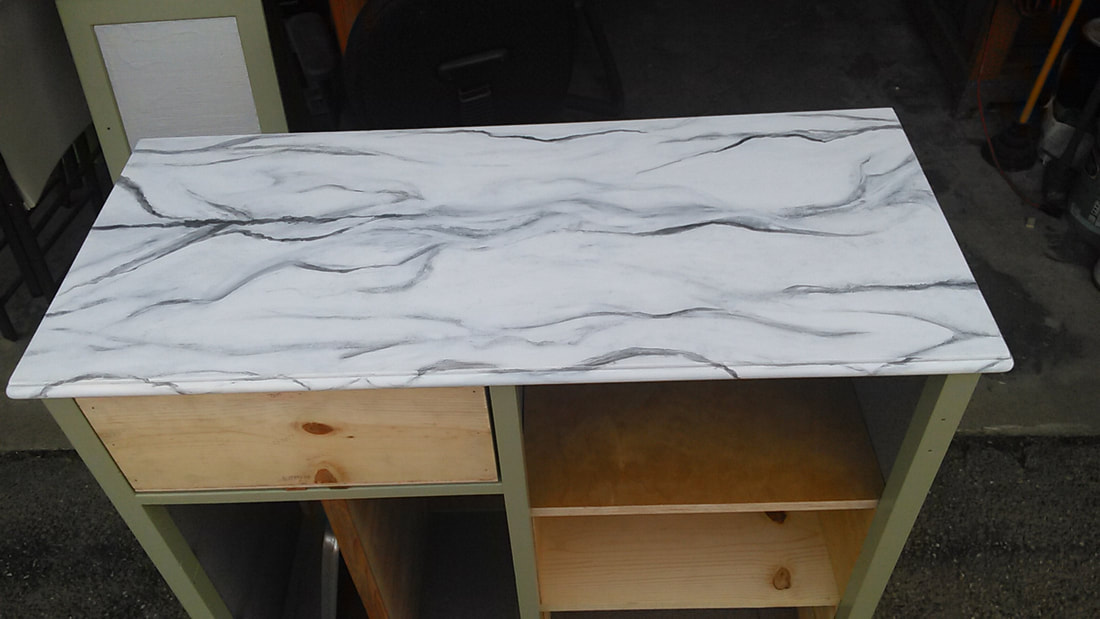  | As for the top, I was thinking of replacing the wood with marble, but that was going to be too expensive. So I did the next best thing -- I painted it to look like marble. People can't tell until they touch it; it's not cold like marble, because of the tactile and visual disconnect, they have to ask, "Is this marble?" That's when you know you did one heck of a tromp l'oeil job! As you can see, I did manage to make a drawer, but it needed a Shaker type front to match the original side door, and then I still needed to make a smaller shaker style door for the space under it. That took some thought and finagling. But after my eldest son told me I couldn't do what I wanted with his router, well, that just made me even more determined to get it done. So I figured out what to do, I wish I had taken better pictures of the process, but just trust me, I was pretty proud of myself for getting it done. Even Tim was impressed. Lesson learned?--be deter-mined to succeed and you will! |
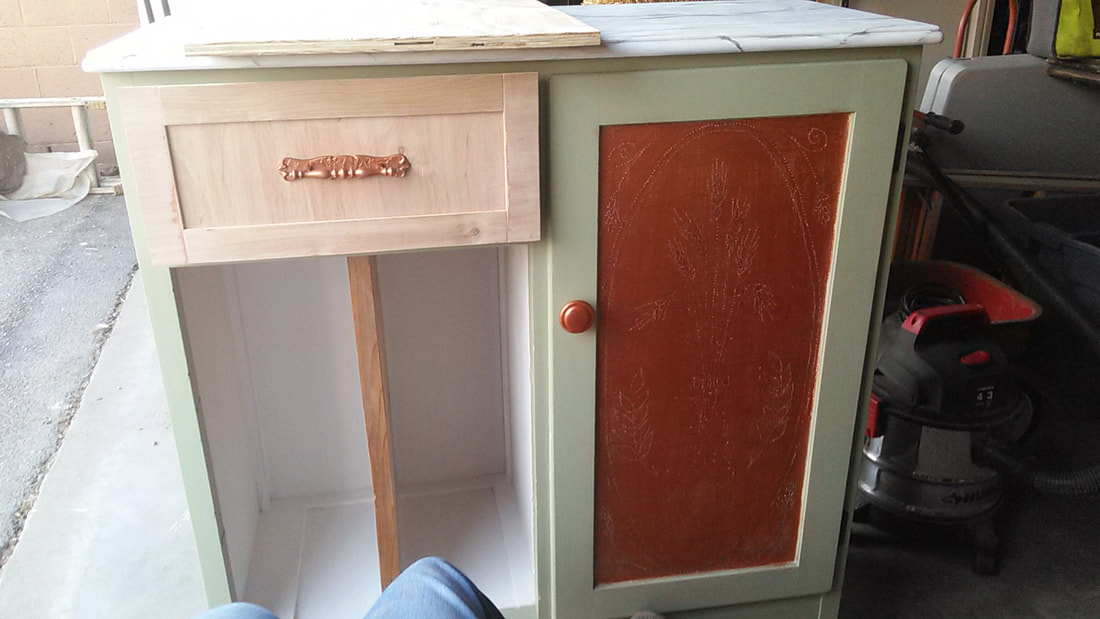
The drawer front is also made from Luan plywood, and the handle is from a long cabinet door from our pantry, I removed the door to accommodate a kitty litter box, but now I house the laundry basket and brooms in that cubby. Anyway, I painted it copper, that is the accent color I went with, very county farmhouse/Craftsman I think. And also lent well with what I had decided to decorate the door panels with, a faux copper tin, also painted in trope l' oeil.
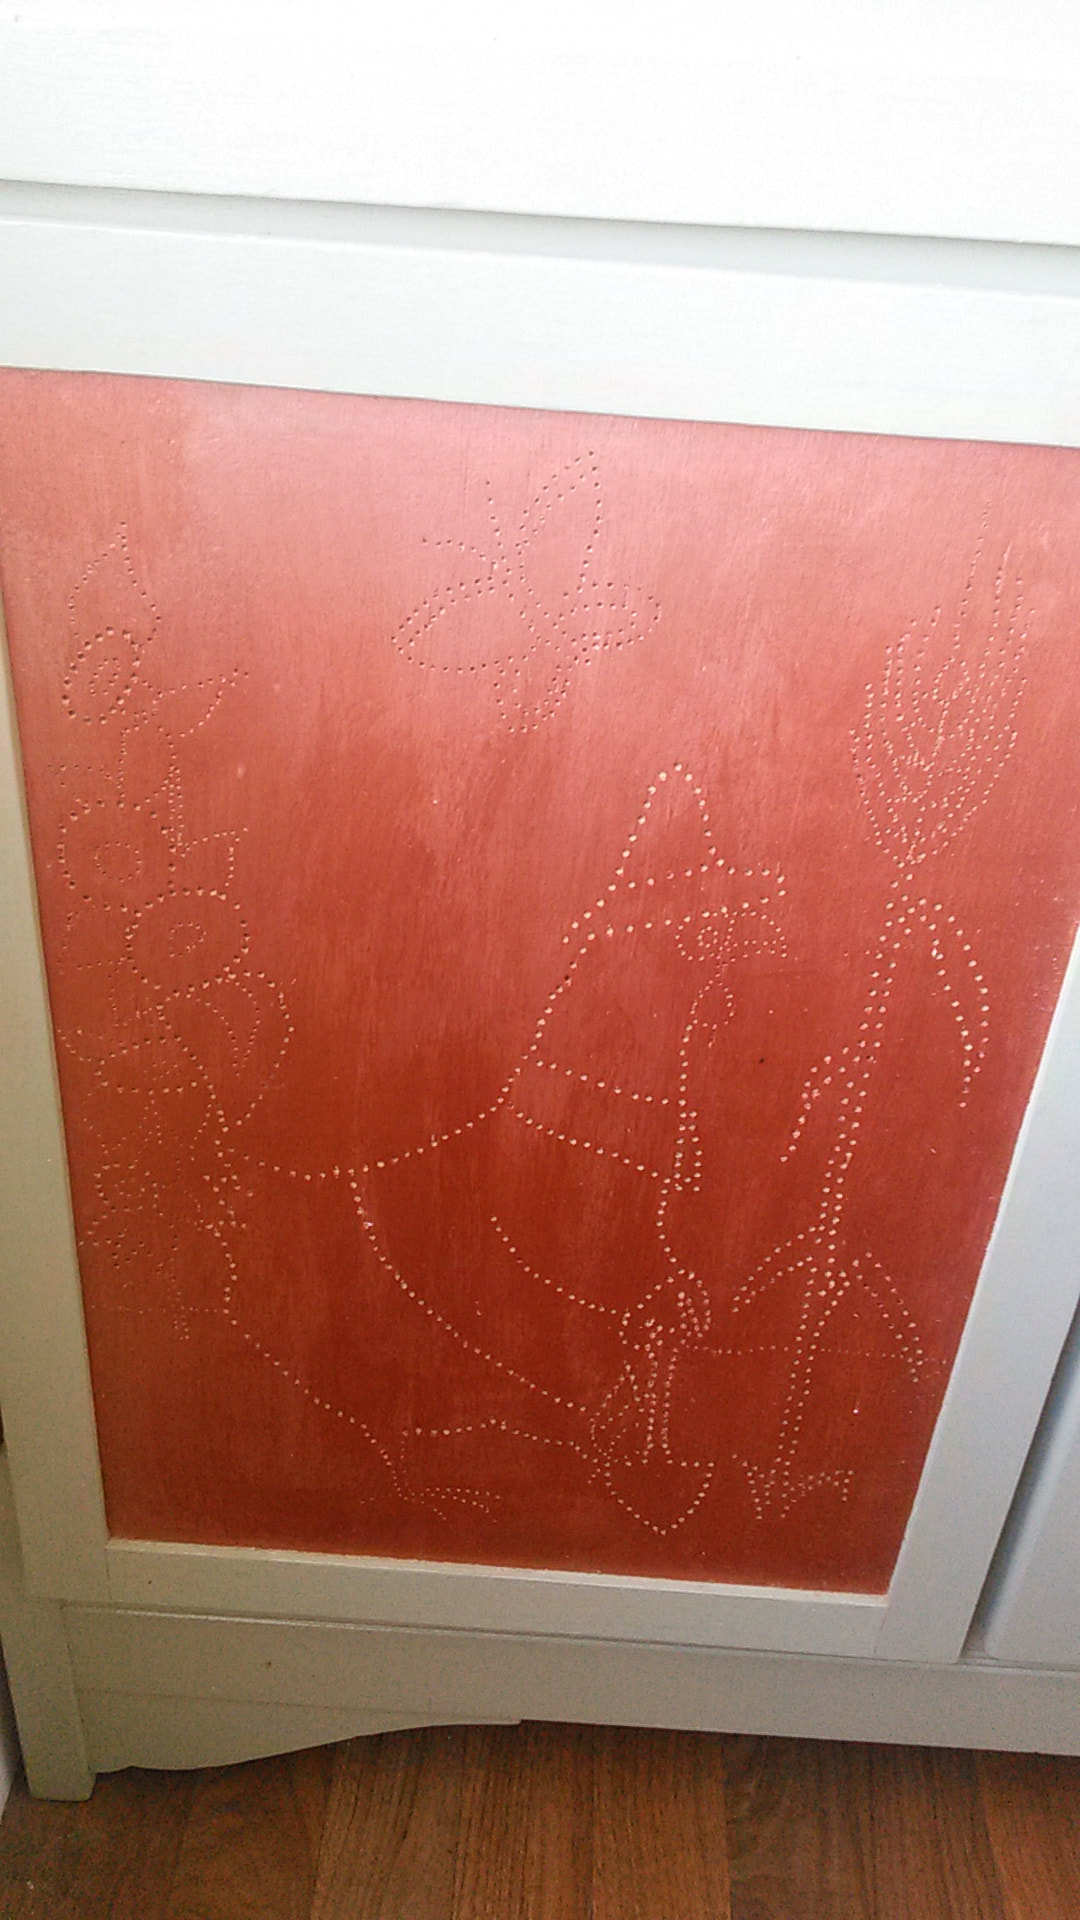 | 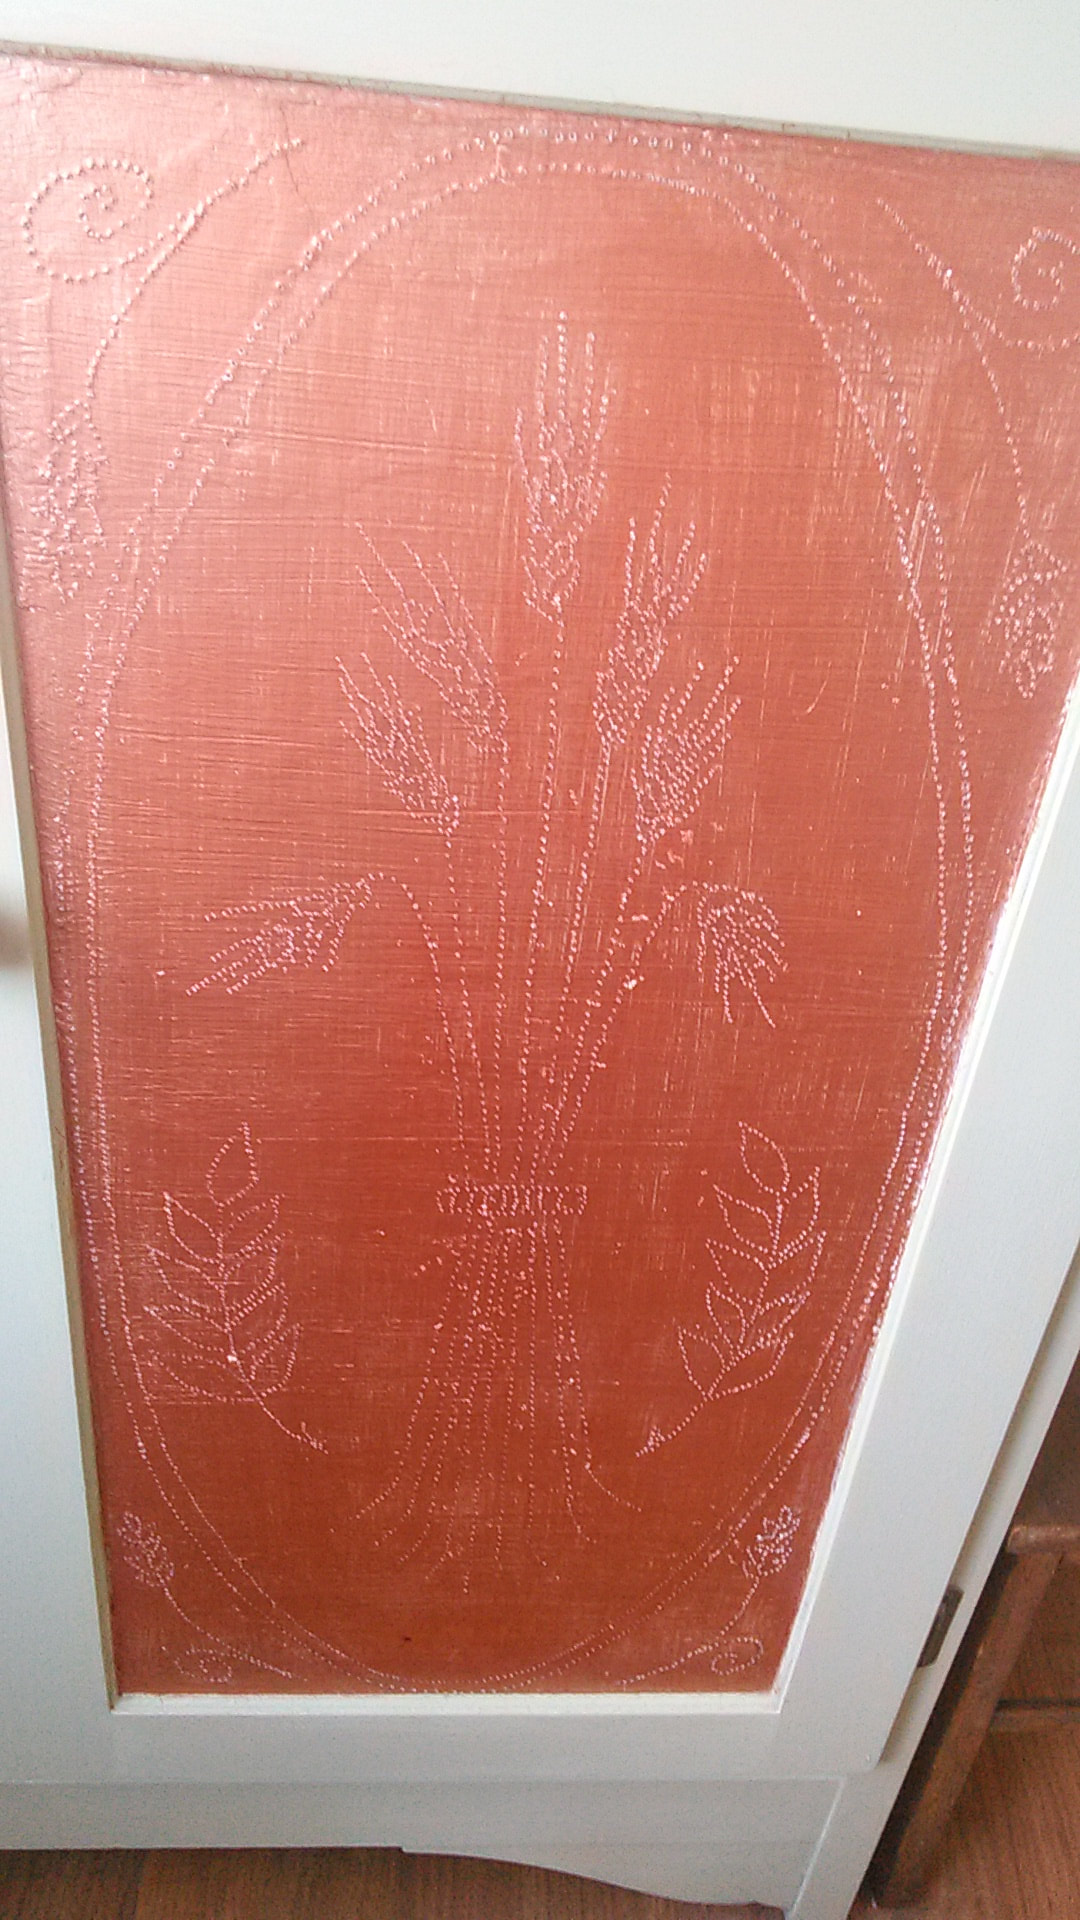 |
The theme I went with is The Little Red Hen, perhaps my favorite childhood story next to The Little House, by Virginia Lee Burton. And I thought the wheat sheath was an appropriate theme for a baking cabinet, as well as a hen, since I also have chickens -- I just love it!

This is what it looks like loaded up with all my baking pans, and the drawer works great for all my dry measuring spoons and cups, scale, and other baking utensils.
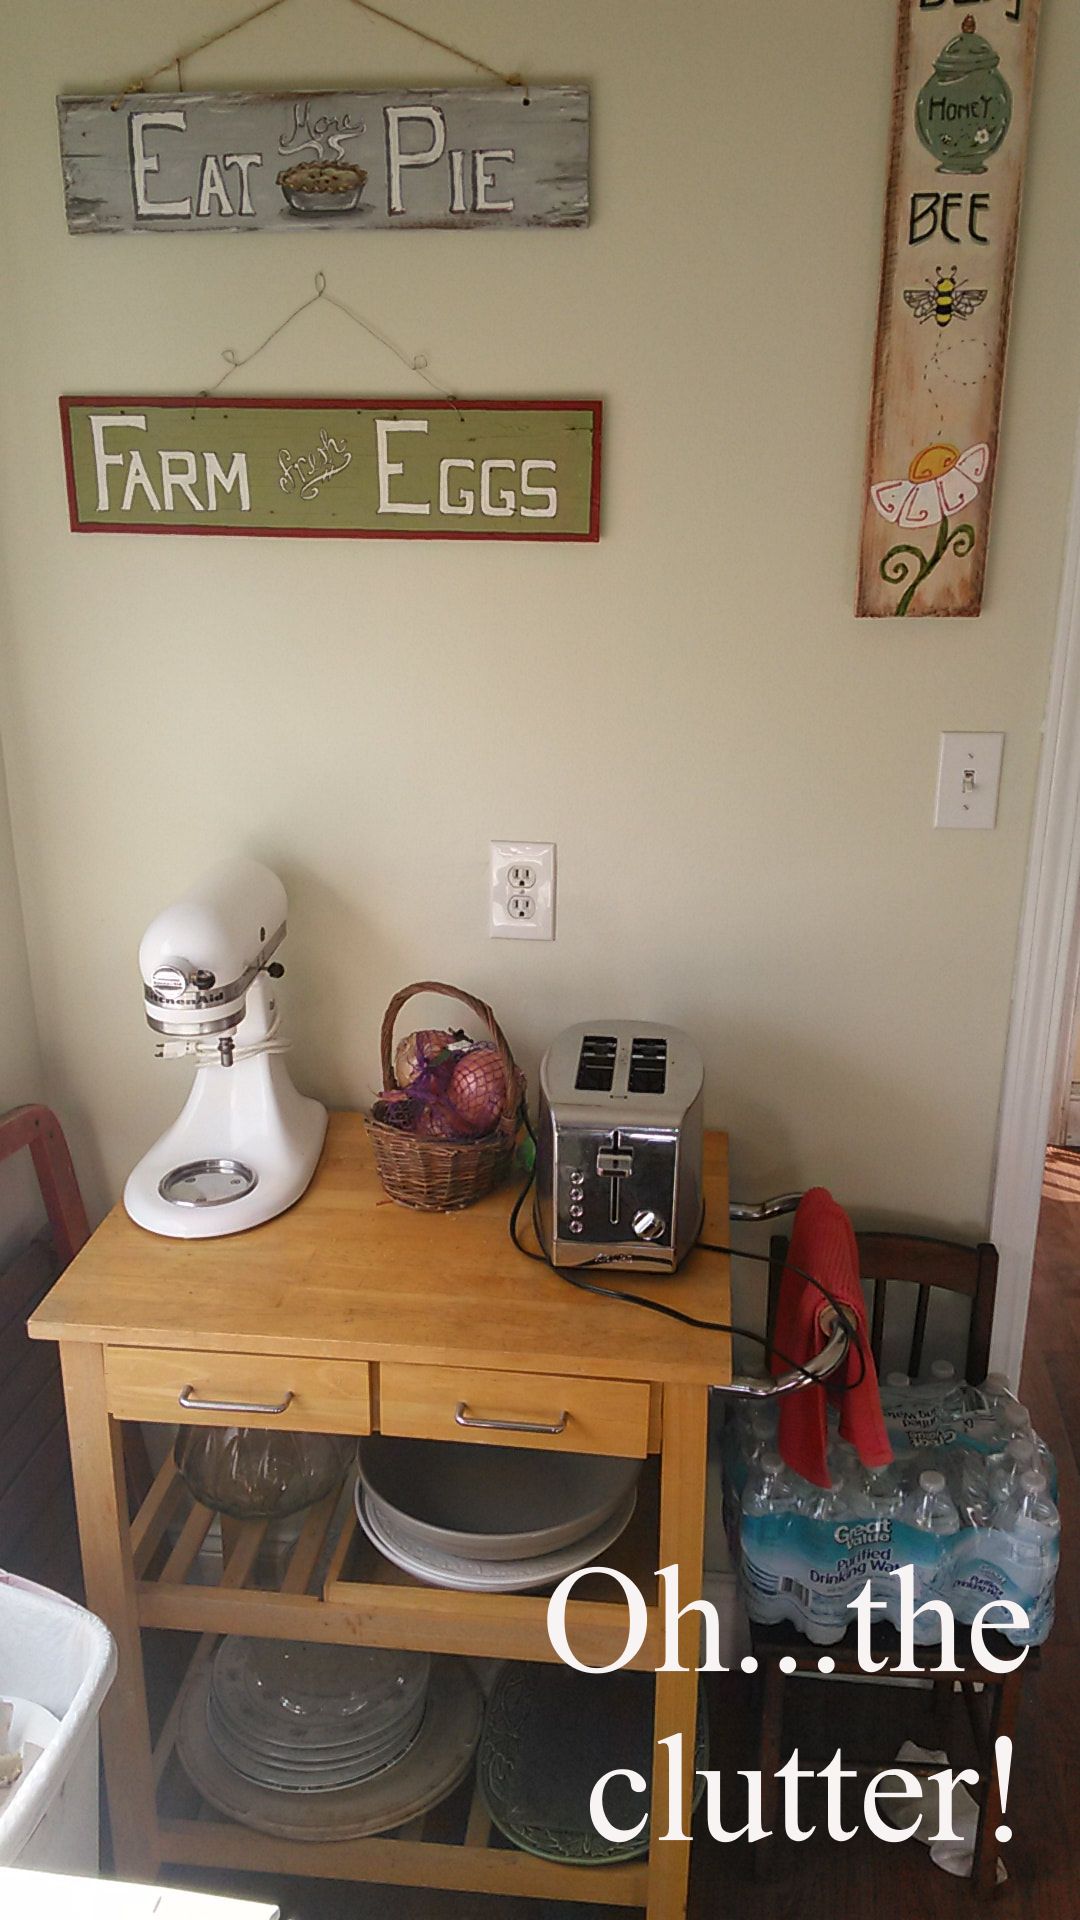 | 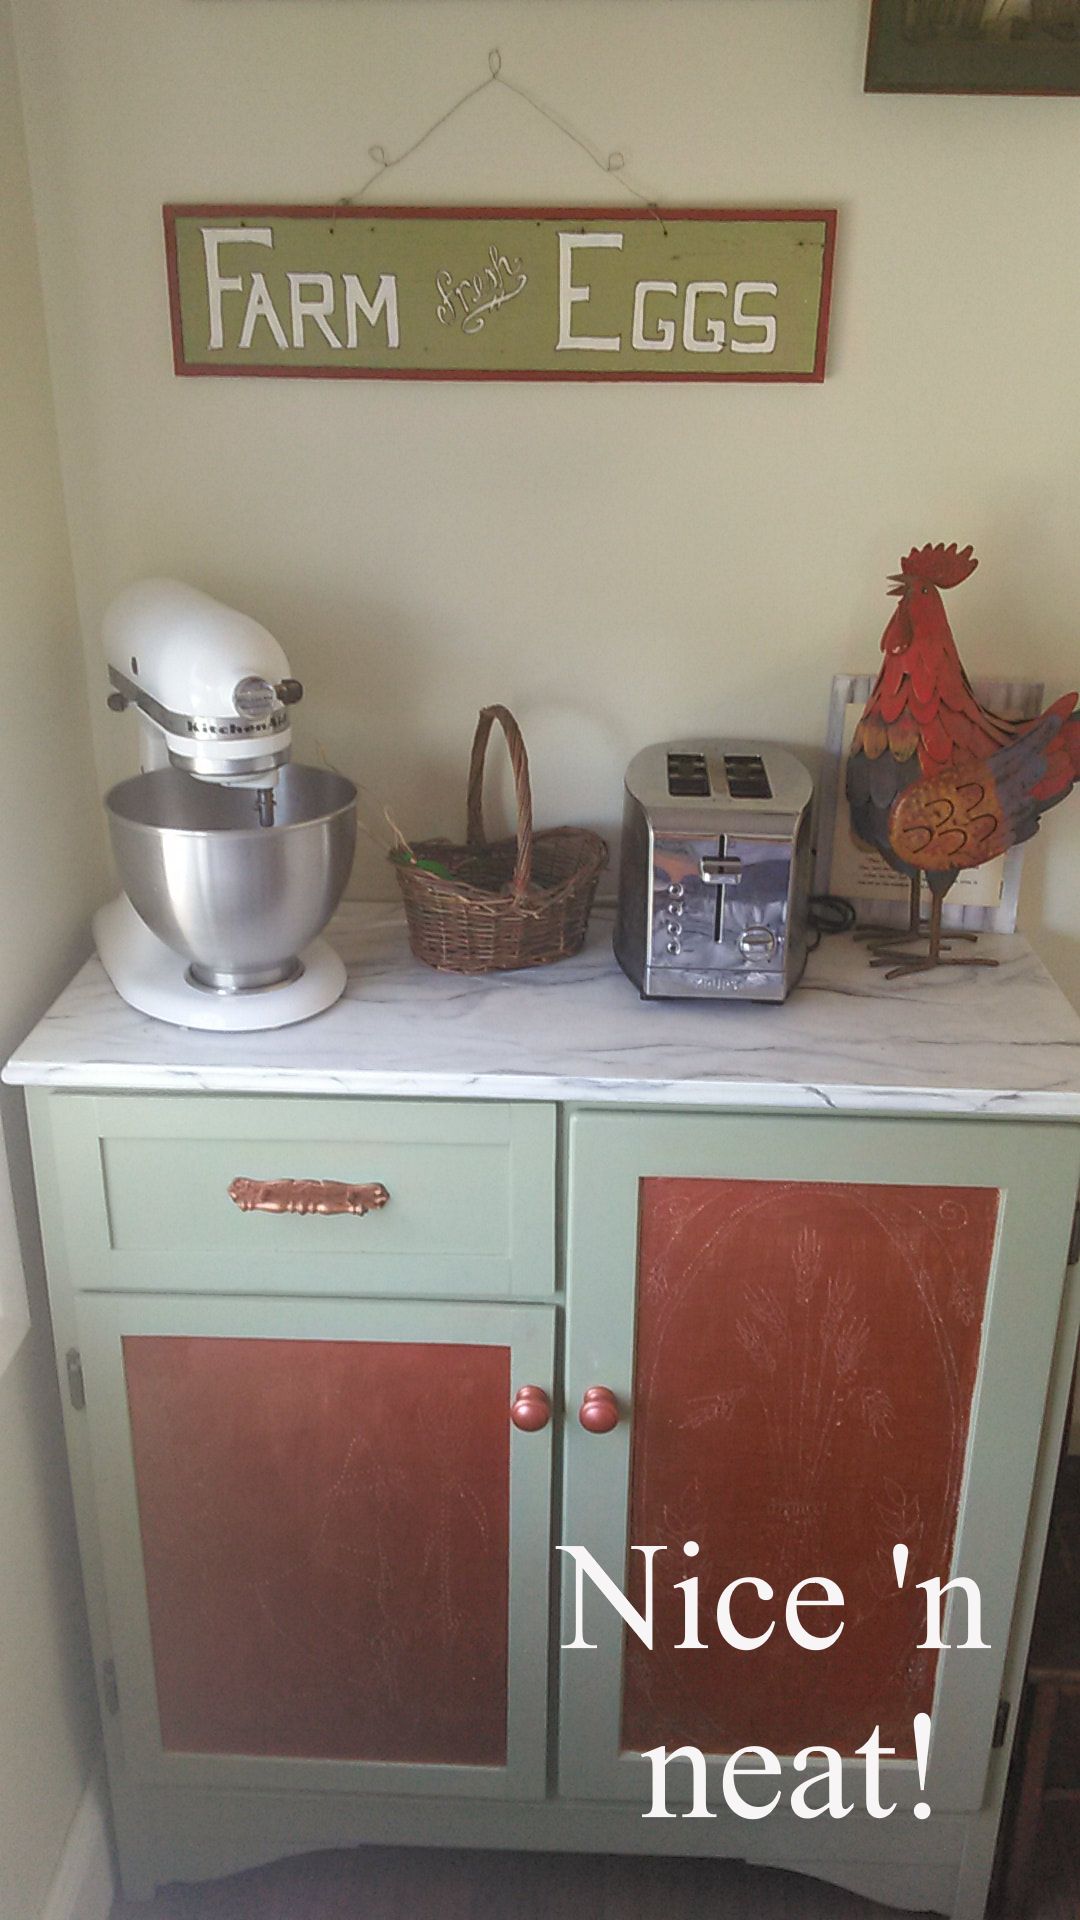 |
| This is what that little corner in my kitchen looked like before, so very unsightly! Incidentally, I absolutely loathe open shelving, to me, no matter how organized it may be, it still looks cluttered and the stuff on it will be a magnet for dust and grime! | And here is what that sweet lil cabinet looks like all finished in the corner of my little kitchen! This is one of my favorite furniture makeovers to date! Now all I need is an upper cabinet for even more storage, and charm! So, I'm keeping my eyes peeled for someone's curb cast off. |
Sure, maybe...


 RSS Feed
